

Window Light Portraits
Master this simple photography technique and then expand on it.

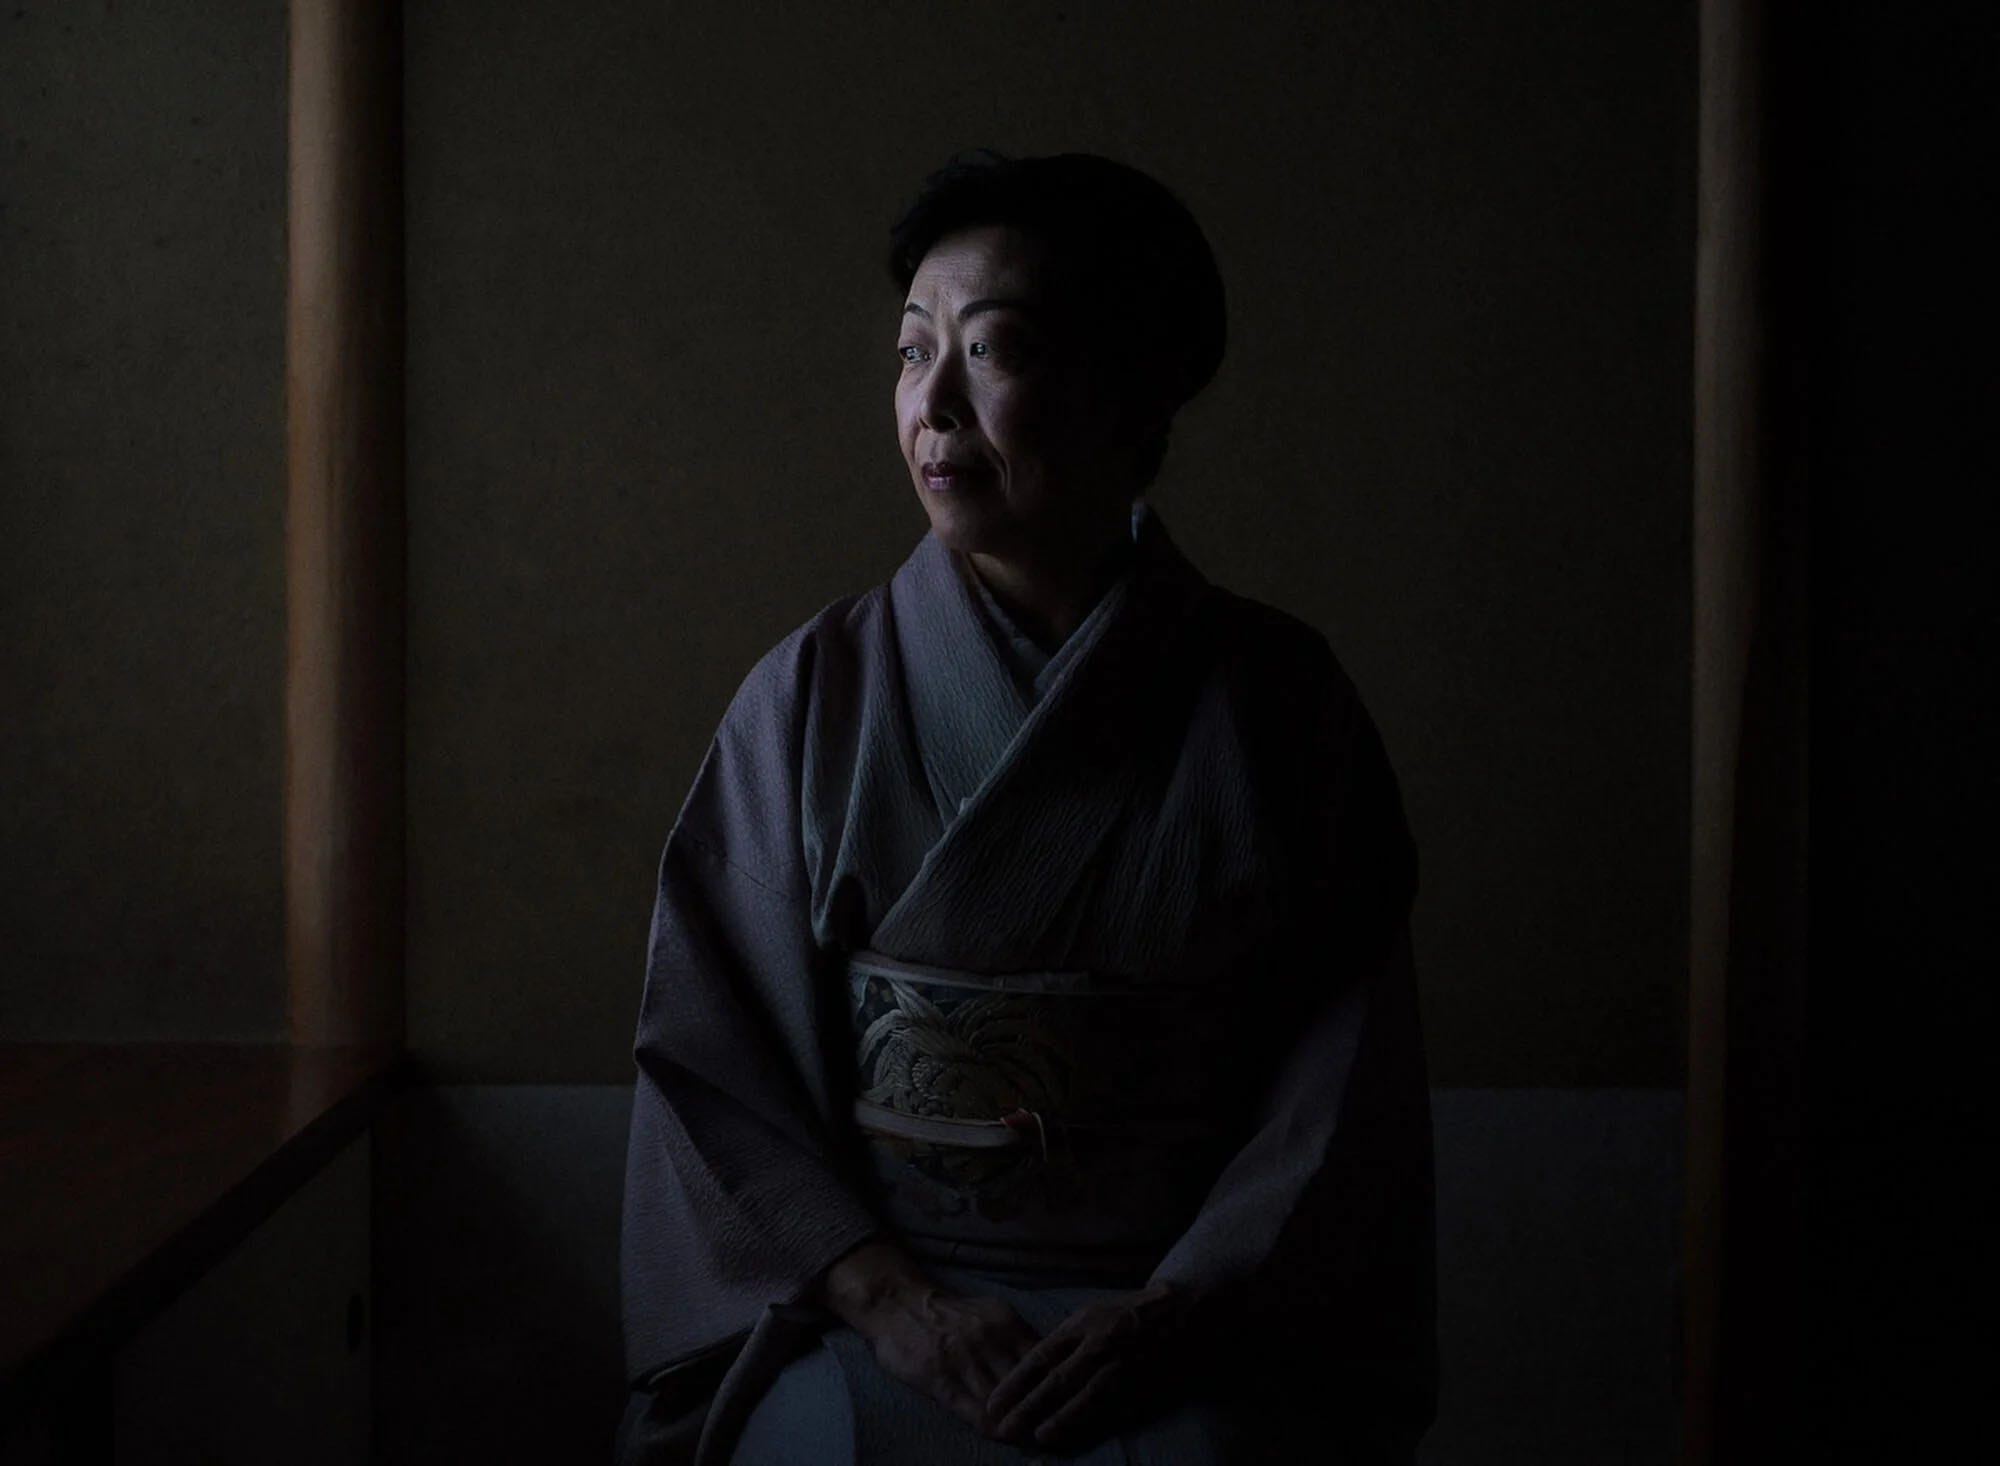
One of my favorite lessons to teach during my photography workshops is window light portraits. It’s a bit of an aha moment for many amateur photographers. It doesn’t require any fancy lighting, expensive gear, or complicated exposure tricks. Rather than come to one my workshop to Vietnam and spend thousands of dollars I figured I’d just give you this tip for free here . As I type this, I regret it already but I’m a man of my word so whatever, here you go.
As an assignment photographer I’m often rushed, clients pay me per day so they want the most out of me they can get so that leads to crammed shots list and yeah less time with my subjects. My photojournalism background taught me to work fast and work with what I’ve given and one thing most rooms have are a window so this is my go to when all else fails.
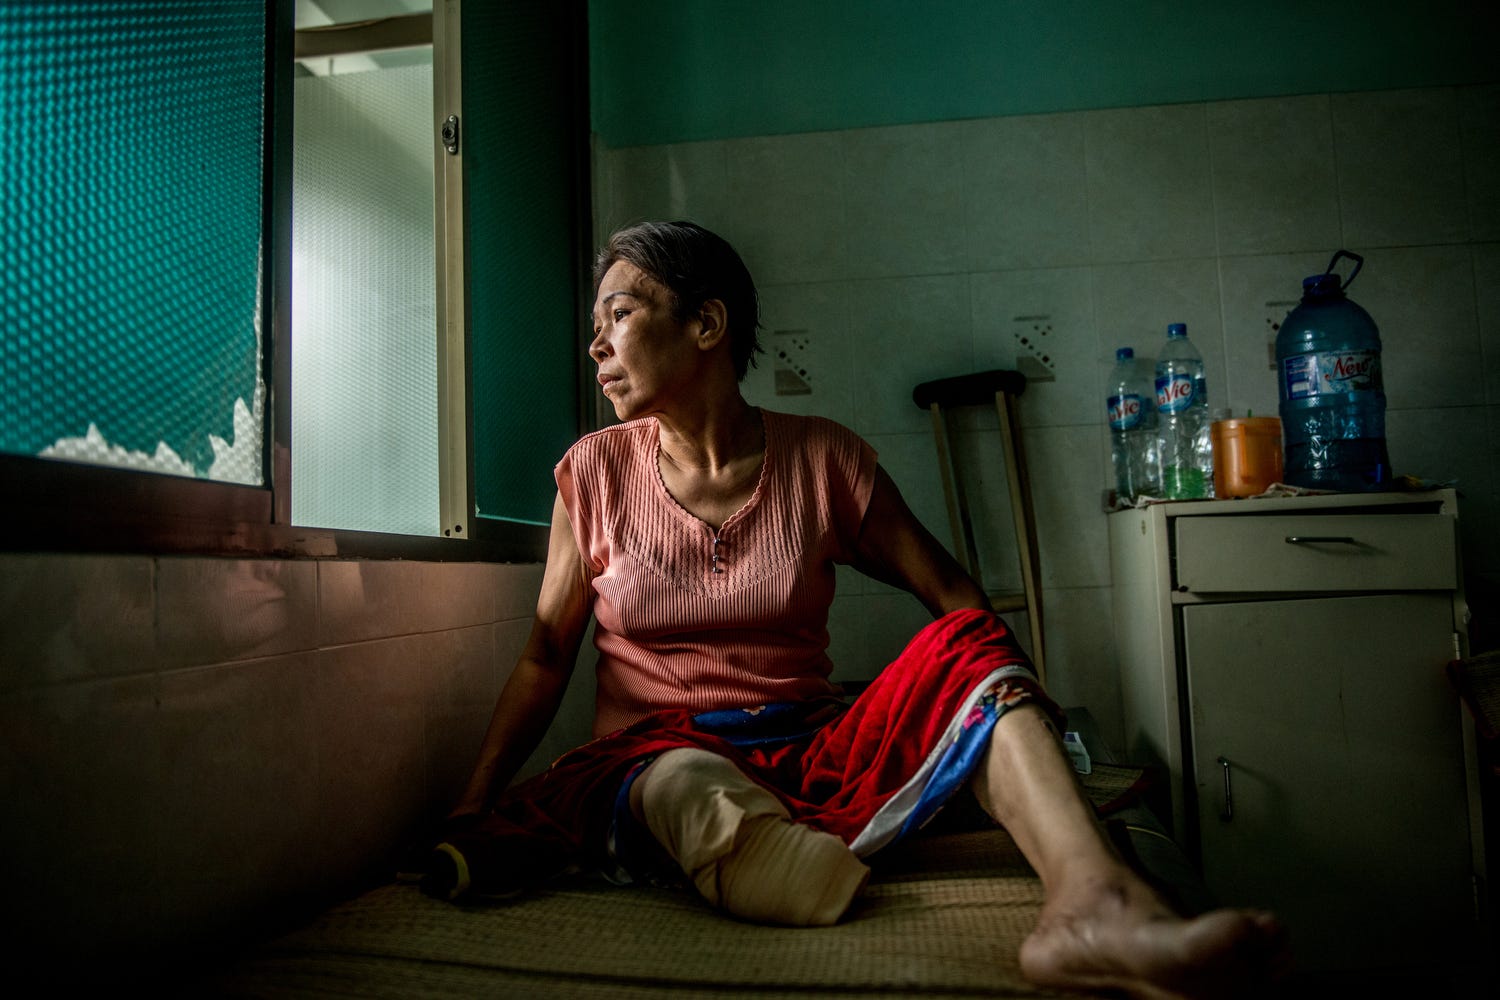
The simple version is, put your subject by the window, turn all the lights off, expose for the window light hitting their face and bam, you’ve got a publishable photo. Kinda, but not really, it’s a little more nuanced than that but if you’re lazy and don’t feel like reading any more you can stop there and at least gain some knowledge.
The more nuanced version is yes find a window or doorway in whatever room you’re in and yes turn off all the the other light sources. The reason you do this is to eliminate other competing light sources and different colors such as overhead fluorescent light, ew gross.
I should add that this doesn’t work in the evening as you need the day light to make this work, you know this, but one person will ask so I had to address it. However, you don’t need direct light either, meaning the sun doesn’t have to be pouring into that window but it can add to the image if you use it right. Direct light will be more dramatic adding more contrast and if it’s passing through blinds or a window, it can create patterns on your subject face or in the background.
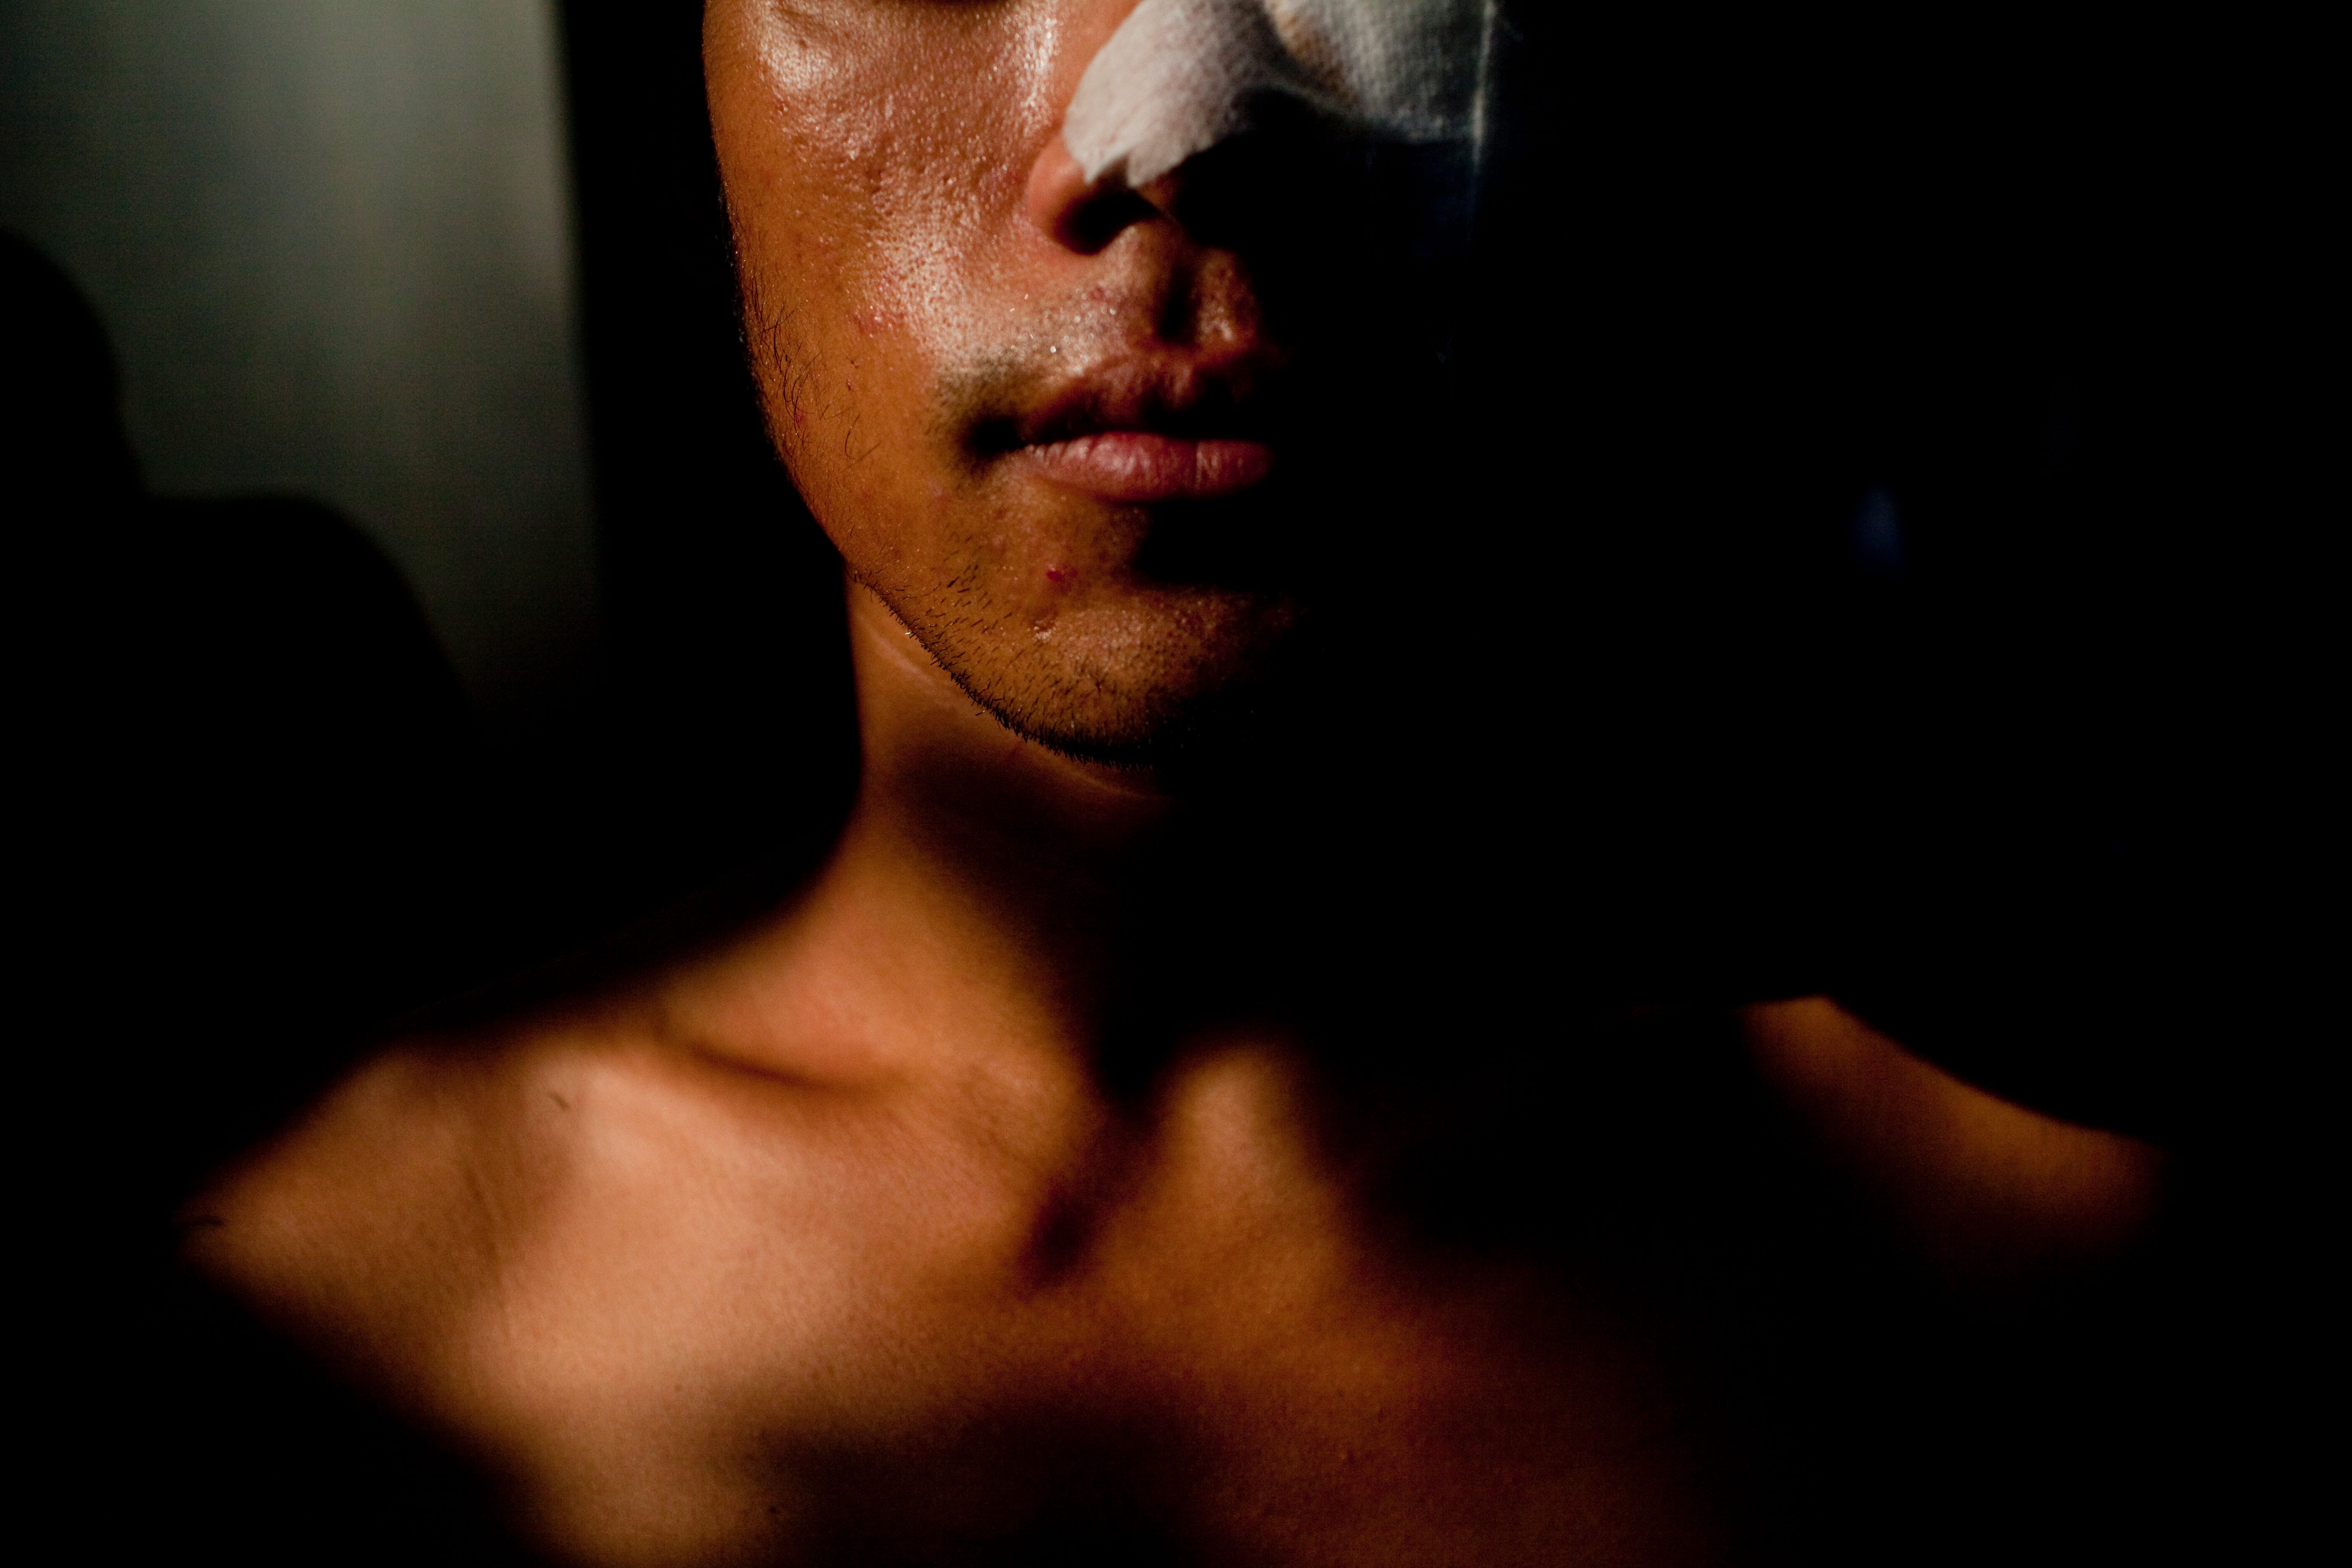
Here you can see the first image of the masked man on assignment for the NYT in Java, Indonesia. I timed it so the sun is pouring directly through the window, quite dramatic. The second image isn’t direct sun, it’s shot on an overcast day, but it still works. One isn’t necessarily better, it’s just depends on the mood and what you want to do creatively with your subject and your portrait.
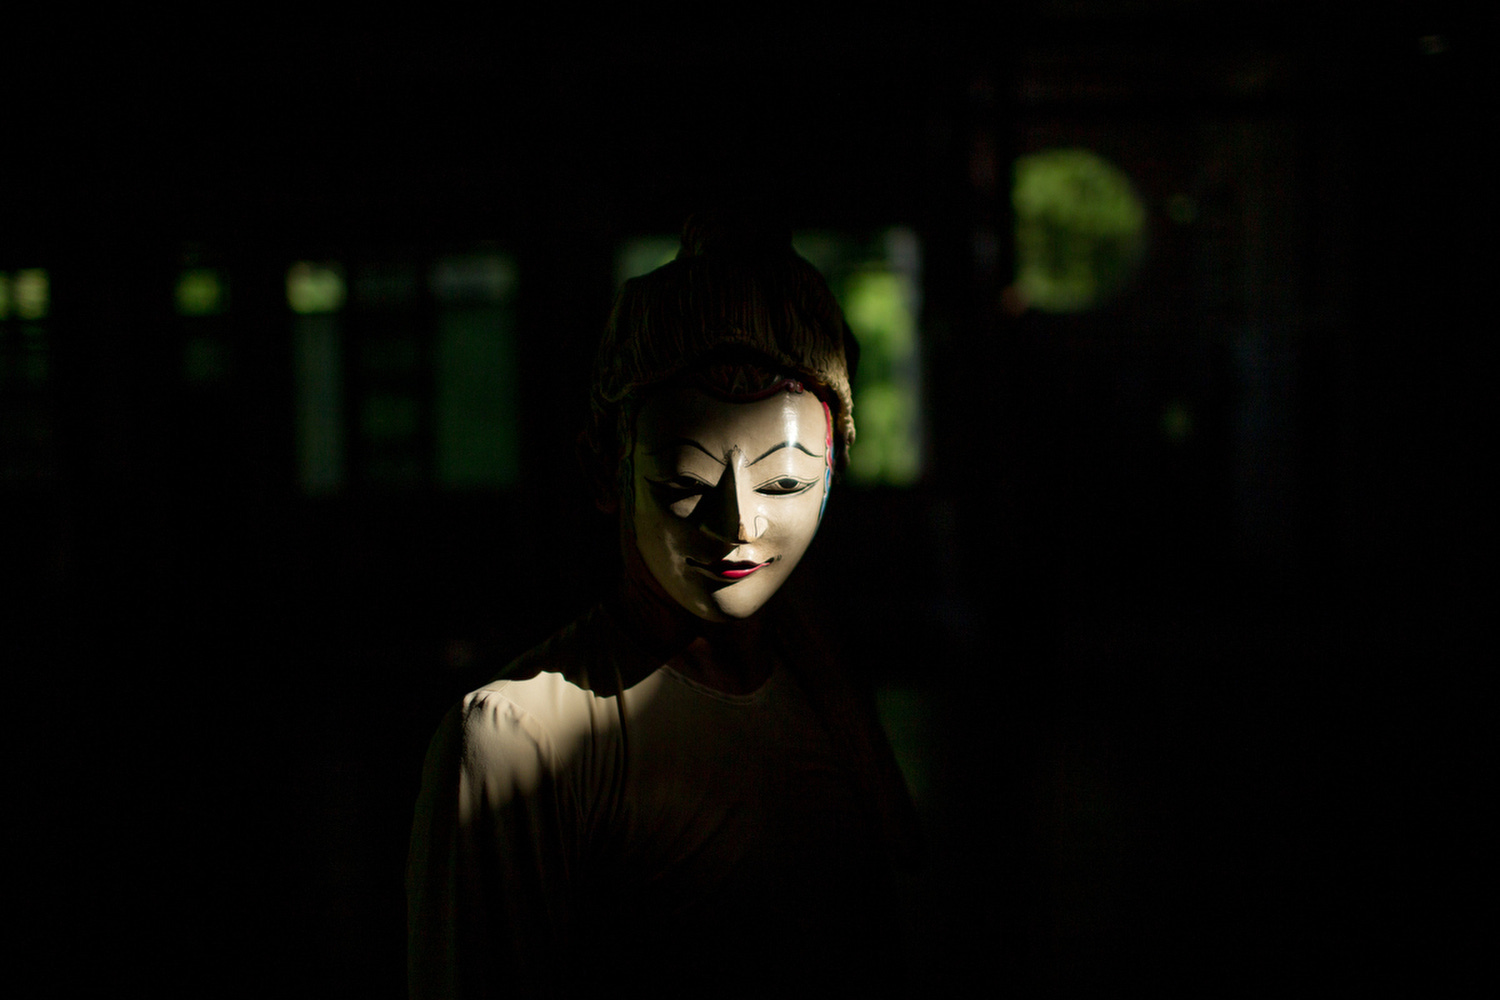
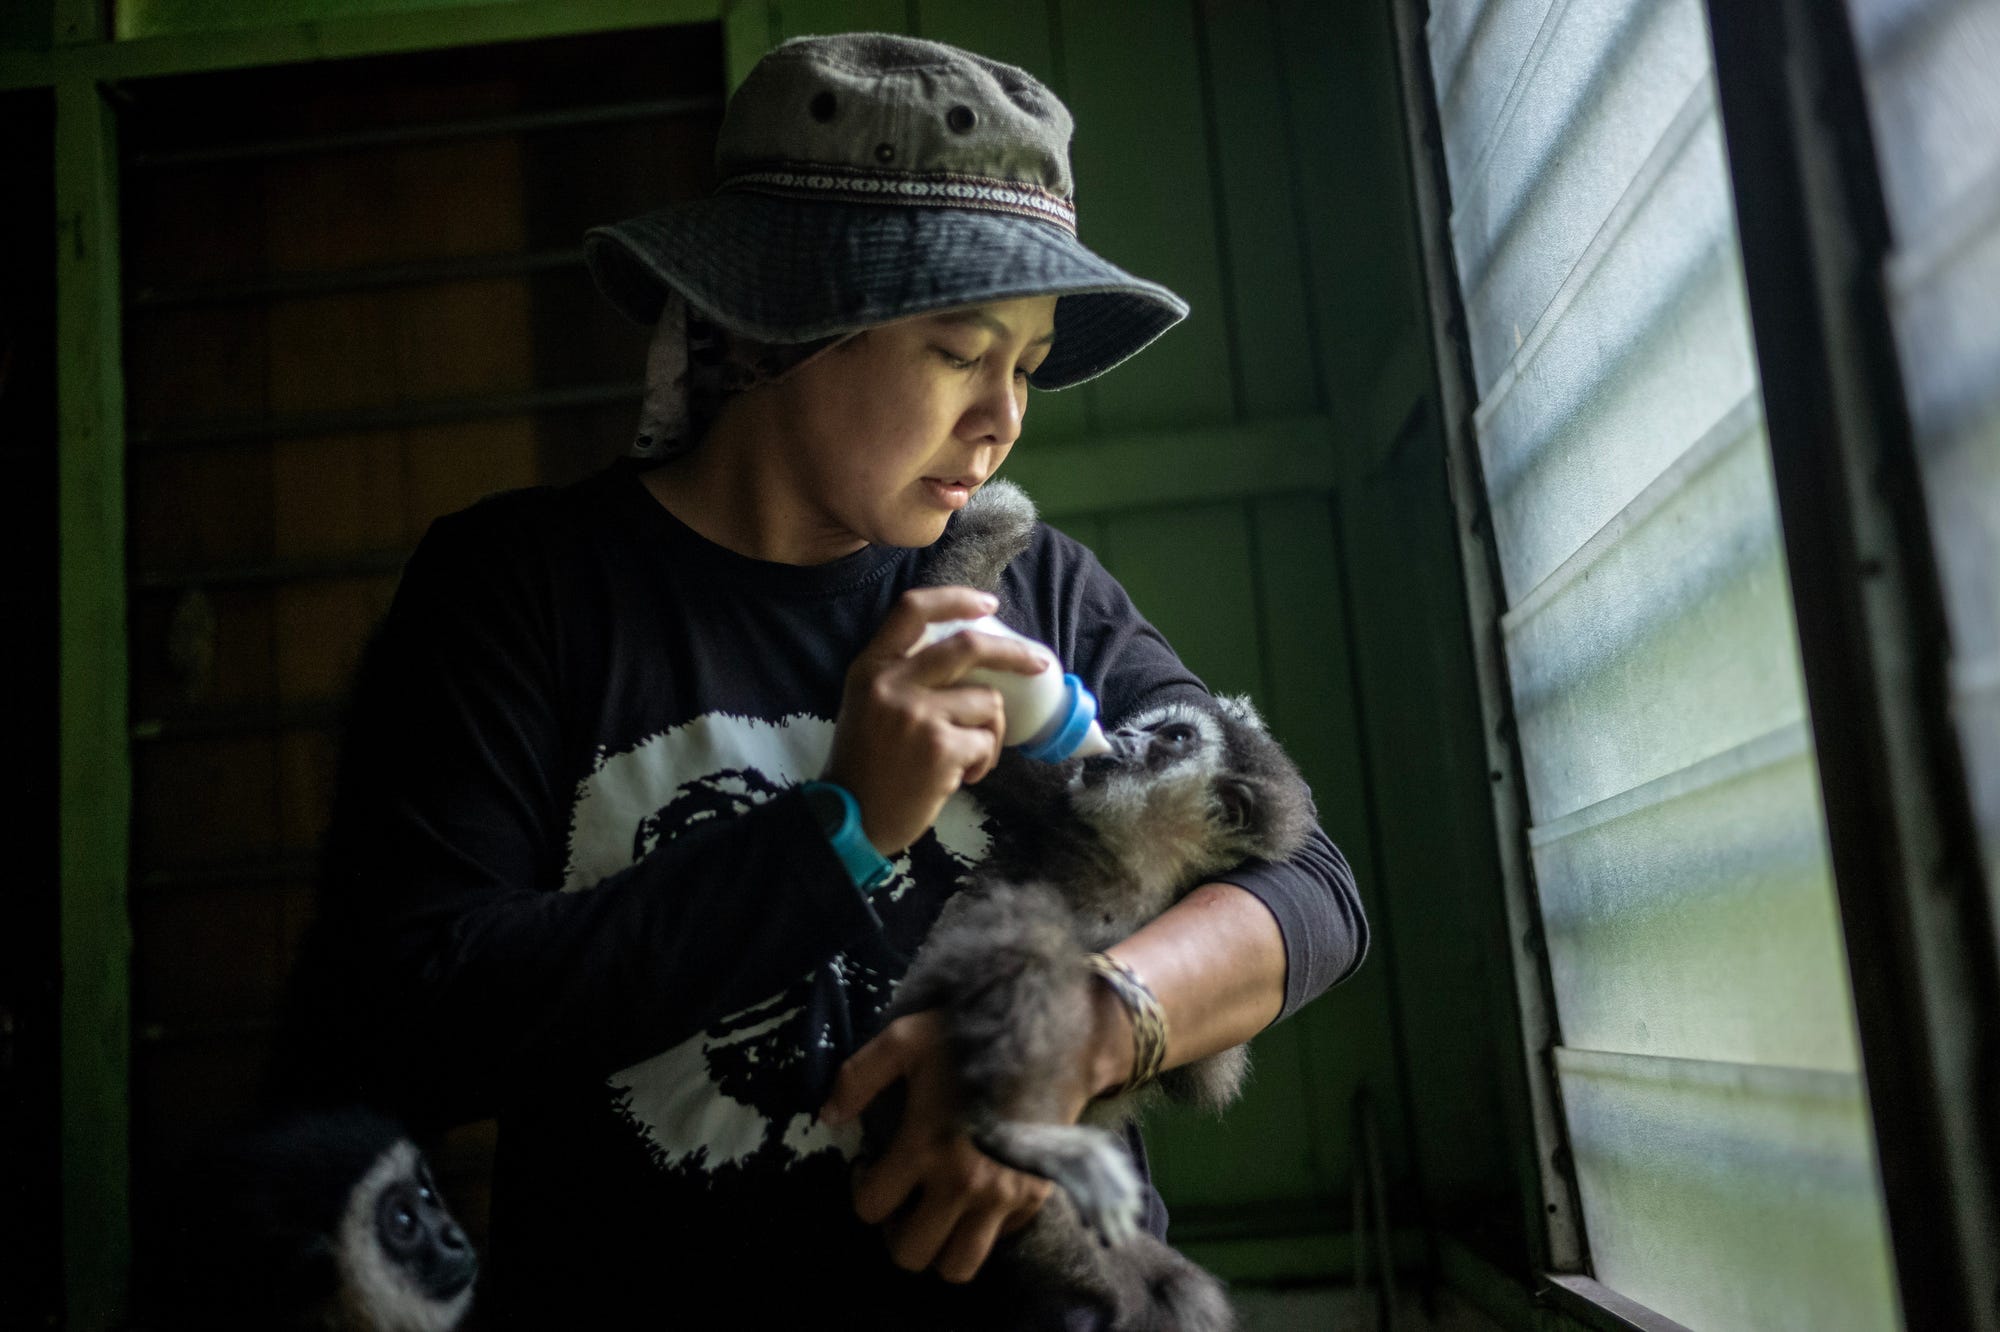
The overall technique is pretty easy. For positioning, this seems obvious, but you want your subject favoring (angled) towards the window, so that the light hits their face. The photographer can positioned parallel to the window. Just look at this little graph to understand the positioning.
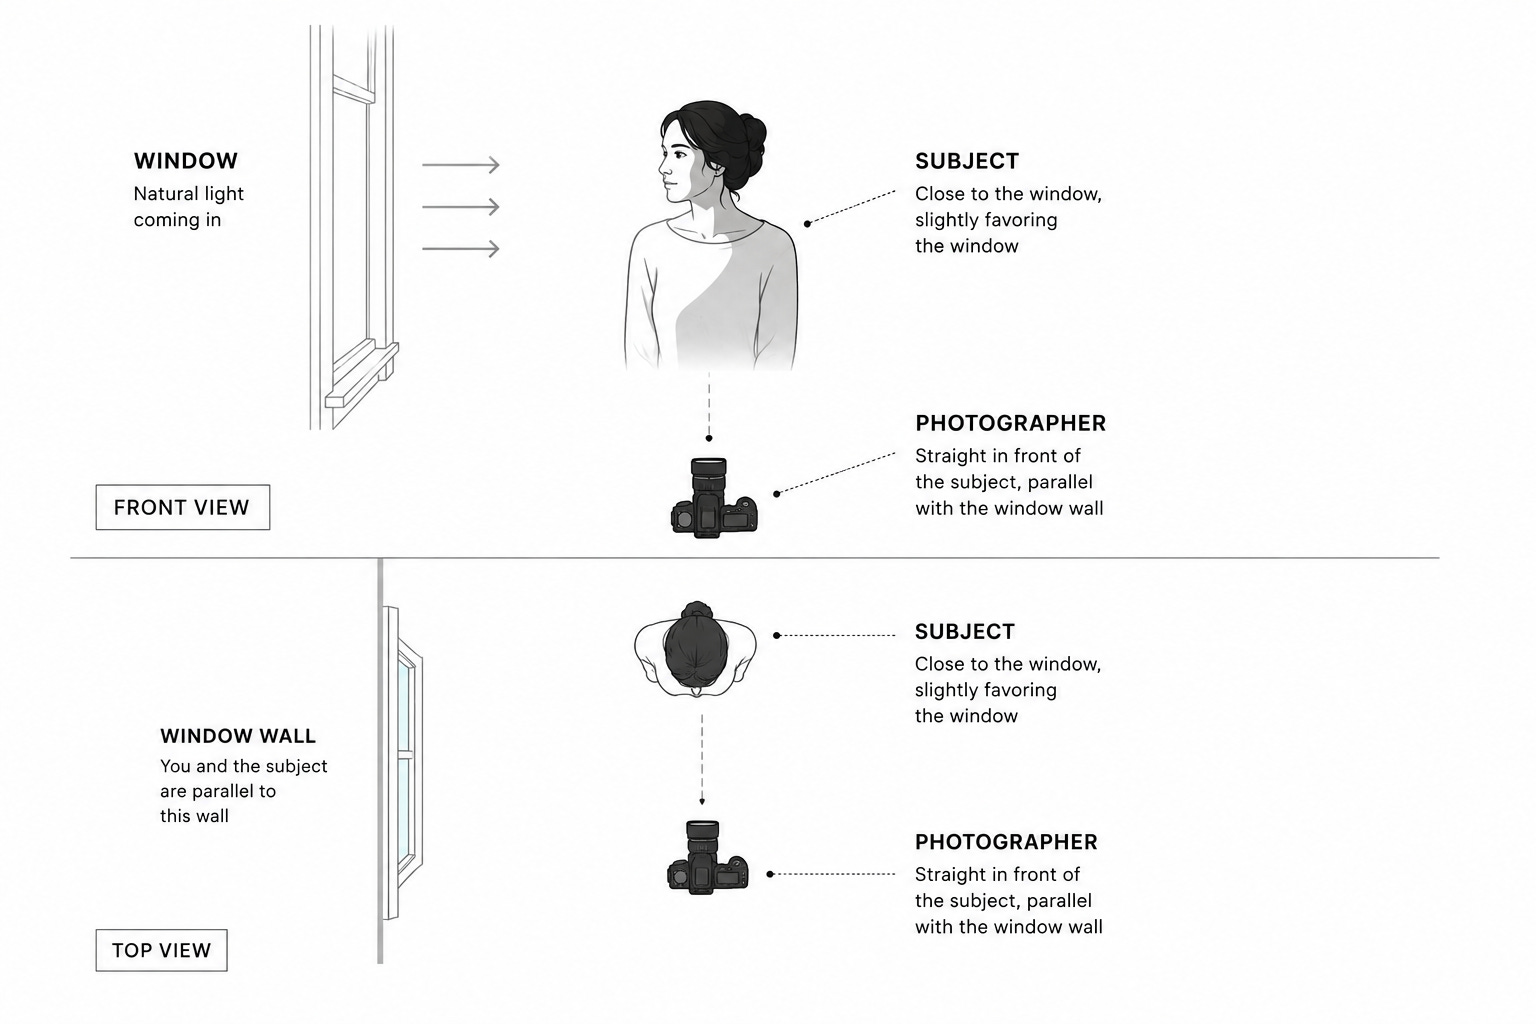
You can either have them face full towards the window or face straight at your lens so that half their face is getting light and the other half in the shadow for a more moody and high contrast look. You might want to use this for a darker story. For example I used this technique for a New York Times story about whistleblowers speaking out about abuse they faced by guards in a Cambodia prison.
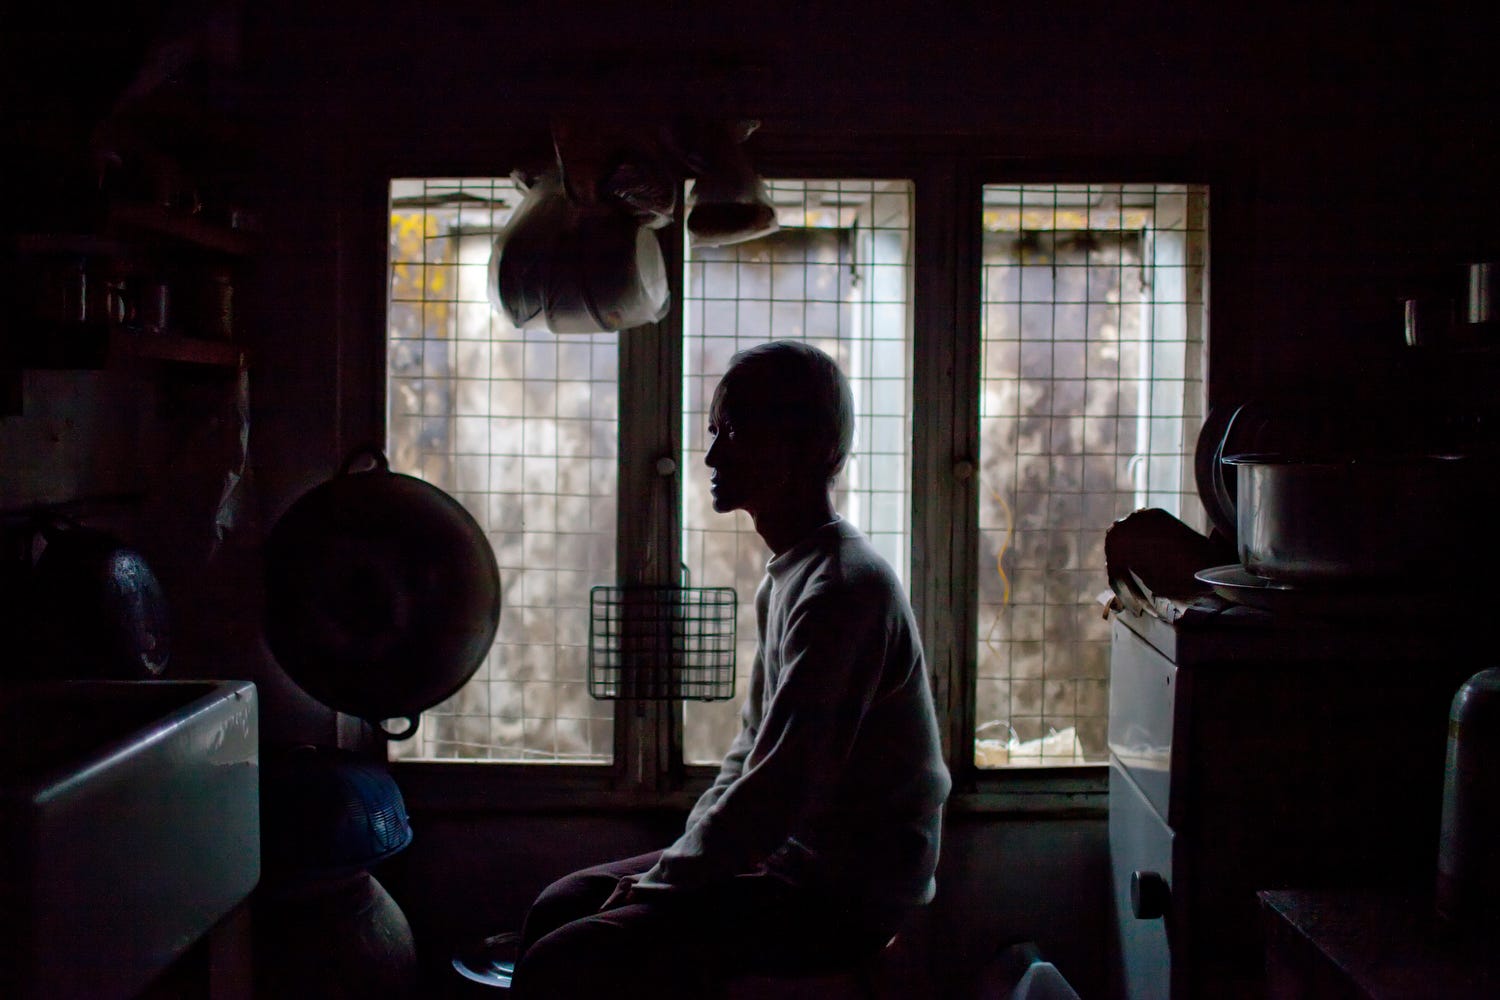
Like any thing I teach there are exceptions to the rules, these are just suggestions and starting places, I encourage you to experiment. For example, here I'm facing the window as this was about an artist in Myanmar and the story had dark undertones to it and I wanted to show the contrasting light outside and include the bars on the window. Just remember, always ask yourself why and be able to answer your why. Why this lens, this exposure, this composition, etc.
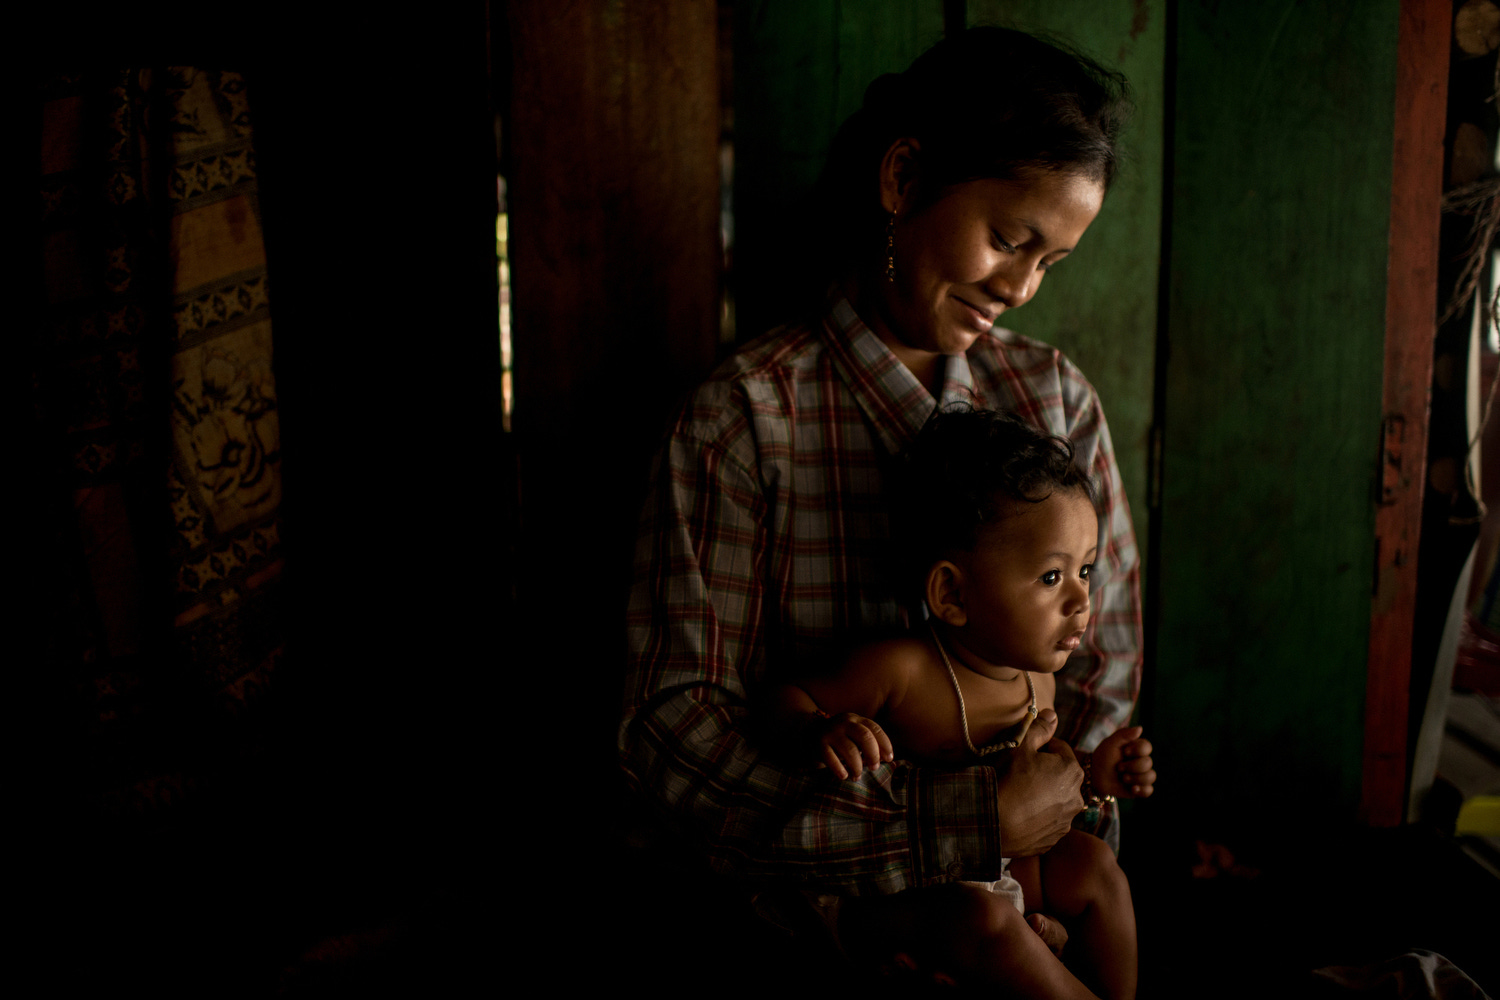
As for exposure, this is where you need to understand manual exposure, at least a little bit, don’t be scared you P or AP people, you know who you are. If you use aperture priority the camera will want to capture an average exposure for the room and often times you don’t want that. You are using the window light to make your subject pop and possible get rid of a distracting background. Sure, you can use spot metering but that might be too much contrast for the case you want a little bit of the background for context. The key here is control, manual exposure will give you more creative control so it’s good to know how to shoot in manual but yes you can also use exposure composition to dial in the exposure how you want but whatever, but just learn manual would you.
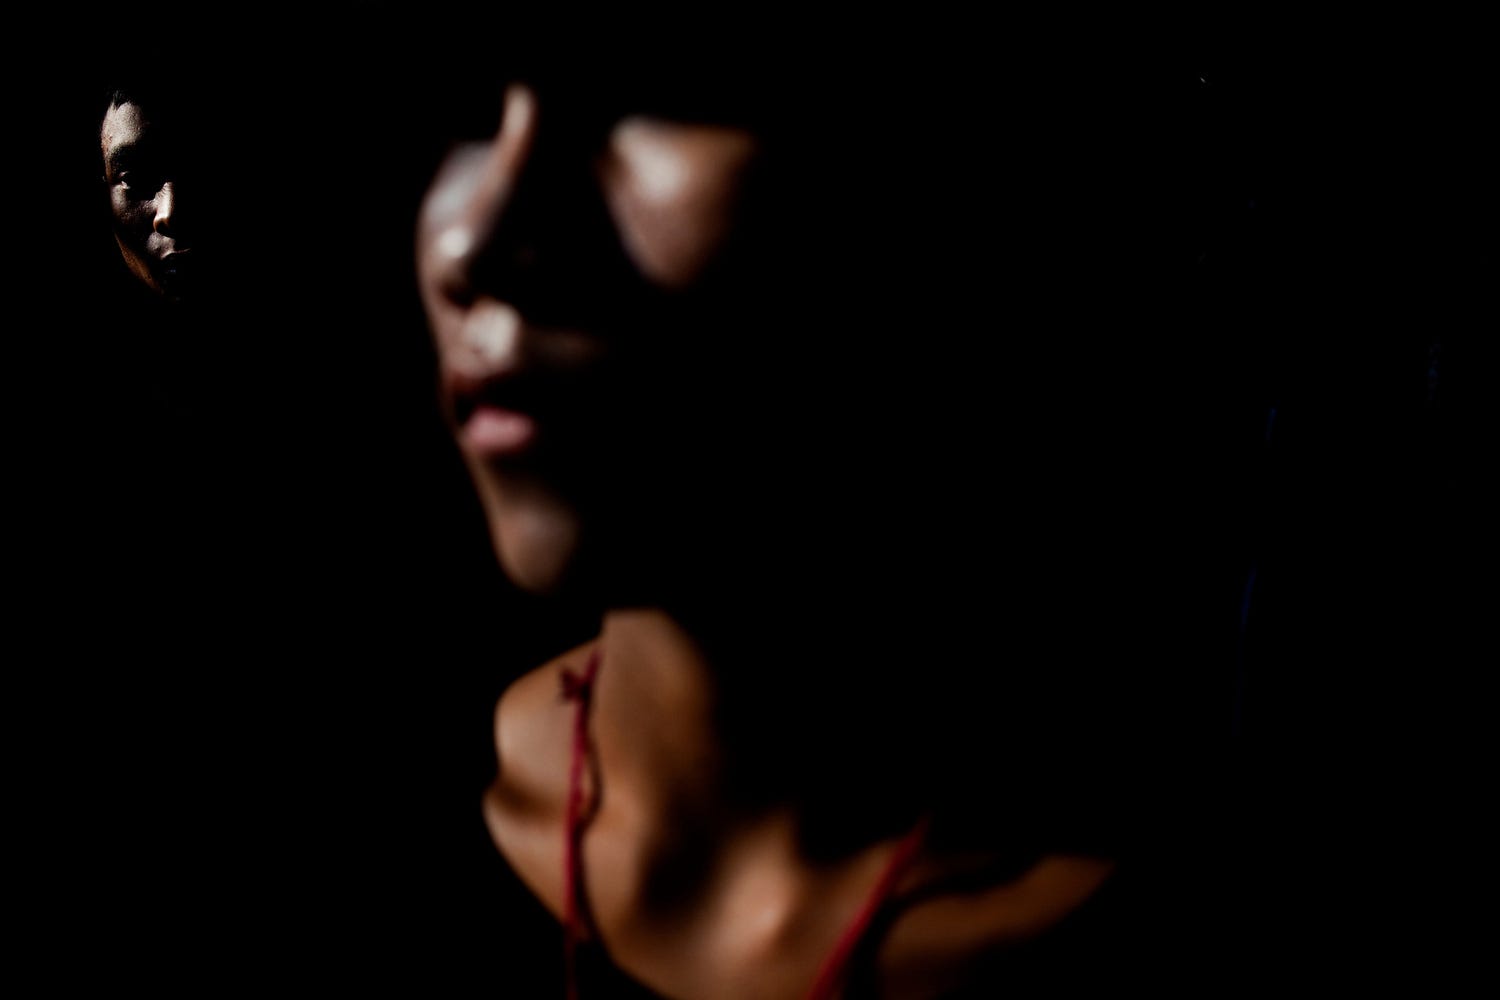
Here is an example of a window light portrait I shot for an NGO of a mother and daughter and I want just a little hint of the background of her home for context and color. Again, I can answer my why.
Okay, now let’s talk about some common mistakes with this technique. The one everyone makes is including the window in the shot and it can be quite distracting as it will be whited out and the eye goes to the brightest part of the photo so your viewer is looking at an overexposed white sky instead of your subject.
Another big mistake is using this to just take that tight shot of someone’s face and not putting any thought or creativity in the shot. This technique is starting point, don’ let the technique do the heavy lifting, you still need to be creative. Play with negative space, maybe turn on one lamp in the background to highlight a part of the room to add to the story. Pull the blinds down and maybe you get some fun patters on your subject. Put the subject close to the window or maybe even farther way and see what that does. Can you shoot through some curtains or an object in the room that will layer your image.
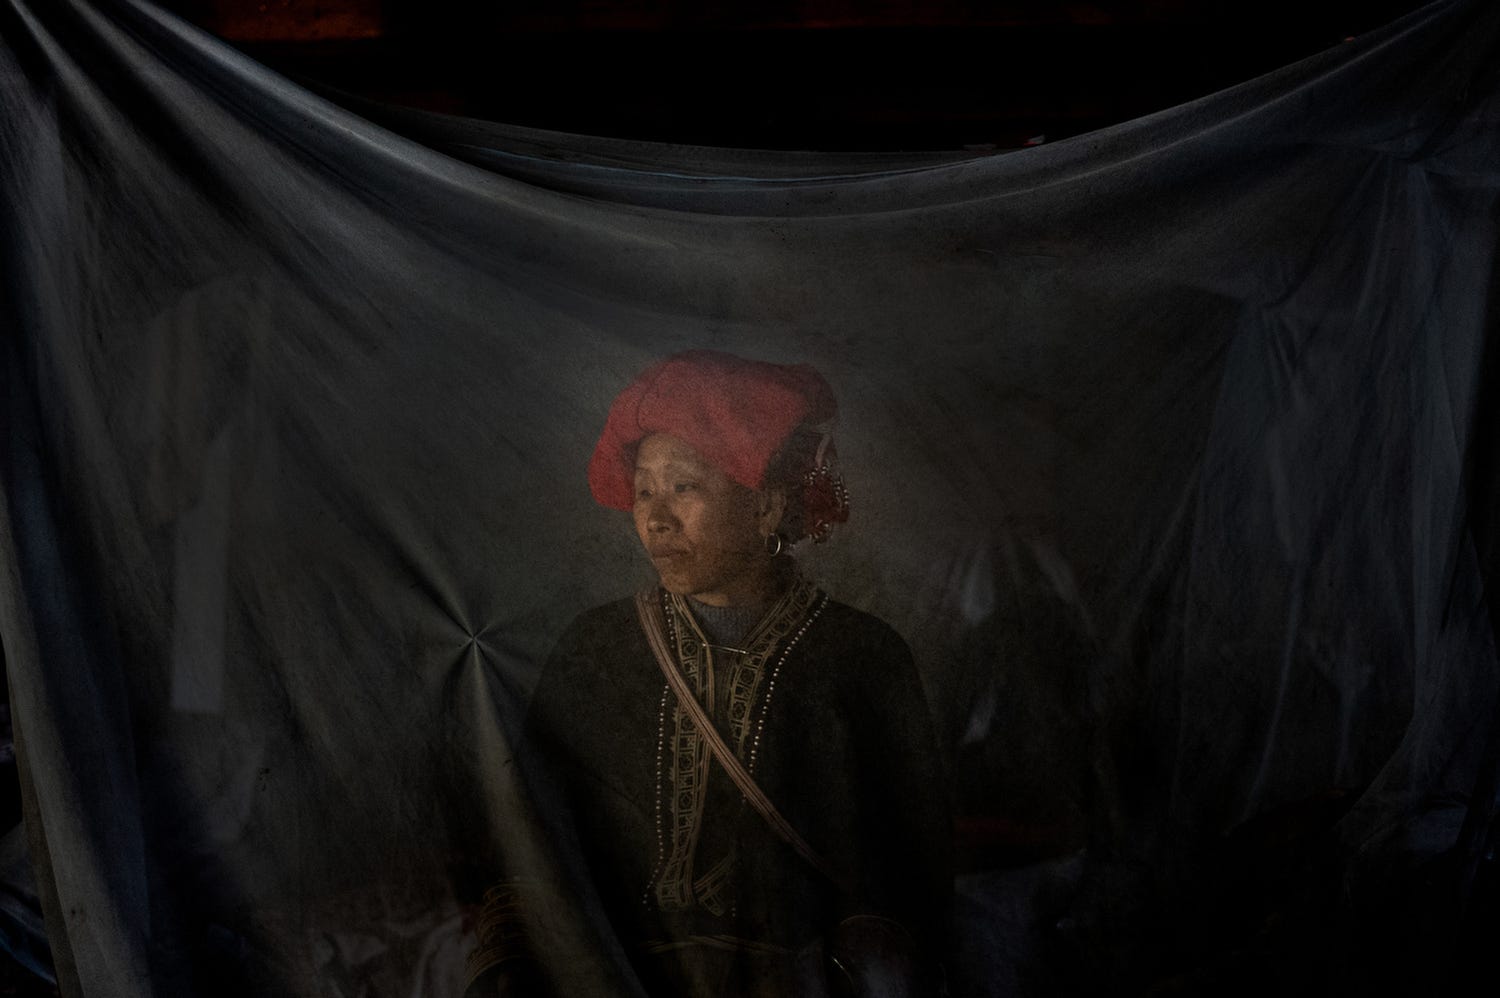
For this shot here, I used direct sunlight and two windows, yeah that’s right, I went double-window. You might not be ready for this so proceed with caution.
Having this mosquito next adds a layer of texture to the subject and bring you to the countryside of Vietnam.
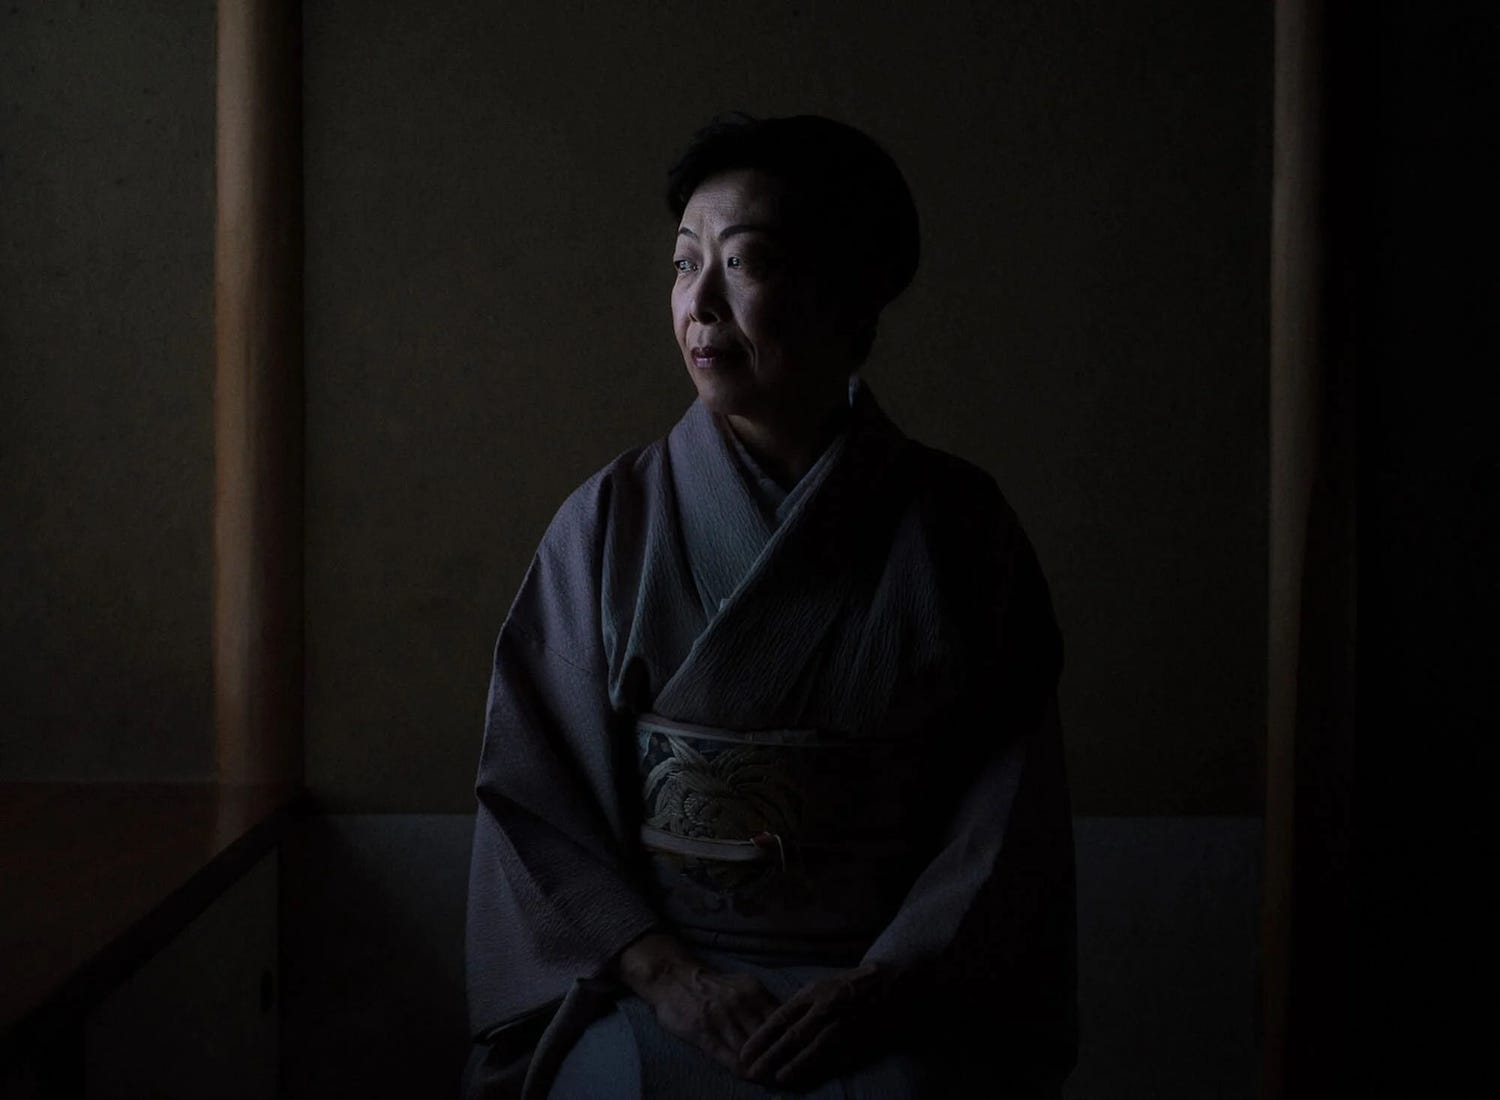
I don’t just use this technique for editorial work, I used it here for a huge hotel client who wanted to showcase the destination. We had a matcha tea master and I loved her clothing and the simple lines behind her framing here perfectly. It was a bit of Lost in Translation moment in Japan trying to get the translator to explain why I wanted her to sit next to the window, even though that’s not where she normally sits during the ceremony. 30 minutes to explain and get approval and 5 minutes to take the shot, but hey I loved it and the client loved it as well so it was worth all the culture complexities.
Practice the technique at home with a friend or family member or even a self portrait. Learn to get the exposure and positioning down first. Then expand on that and experiment with your creativity. Remember to be thoughtful and ask and answer your why and don’t do what most people do which is to let the technique be the creative part of the image, wrong. Be creative using this technique.
I just taught this technique in my Membership Community as their June Assignment and it was fun to see the members experiment and learn from it. If you want to grow in your photography with monthly assignments, feedback, and direction in your photography learning from a season pro who has more tricks than window-light and is capable of shooting double window light shot(sick brag) consider joining my AskMOTT community, it’s open to all levels of photographers around the world and it costs $50 a month.
Learn more about it here.
Essential piece, Justin, you nailed this!
Another valuable bit of insight, Justin. I remember trying to do this with you in one of Hanoi's central marketplaces. I'm thankful for the reminder.